четверг, 21 августа 2014 г.

Make The Perfect Papier-Mache Fall Pumpkin Sculpture Container


How to easily make a beautiful papier-mache pumpkin sculpture container using newspaper or leftover wrapping paper and a plastic Halloween pumpkin bucket.


make the perfect papier m ch fall pumpkin sculpture container, crafts, halloween decorations, seasonal holiday decor


I cut the pumpkin in half to use the faceless side as a mold. You will need to make two (identical & separate) pieces to create the body of the papier-mache pumpkin. If your pumpkin bucket does not have a face with indentations or if you wish to include the face, you can use both sides of one bucket as a mold and make both pieces of your pumpkin at the same time. You could also use two smooth sides from two separate buckets that are the exact same size. I only had one bucket and did not want to include the face, so I just used one side of the bucket as a mold and repeated the process to make the two pieces.


make the perfect papier m ch fall pumpkin sculpture container, crafts, halloween decorations, seasonal holiday decor


I started by forming water wet strips of paper (no paste) onto the mold. I then added a couple of layers of paper strips dipped in paste to the mold and allowed it to dry overnight. Starting out with with strips dipped in water only prevents the project from sticking to the mold. Once the water wet layer dries, the project will slip easily from the mold.
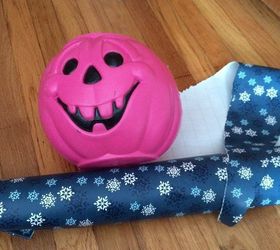
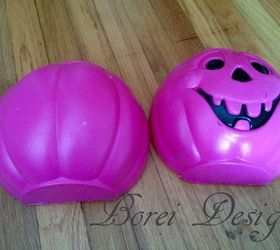
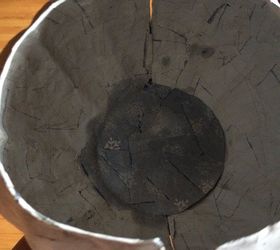
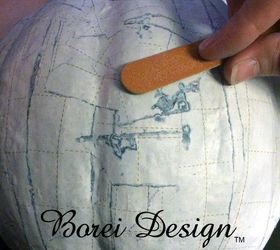
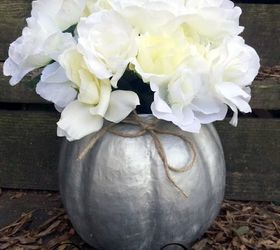
The next day after removing the individual pumpkin sides from the mold I added a couple of layers of paste dipped strips to the inside to secure the loose (previously water wet) layer.
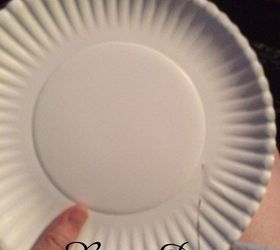

make the perfect papier m ch fall pumpkin sculpture container, crafts, halloween decorations, seasonal holiday decor


I then added more layers of paper strips and one layer of scrap fabric strips dipped in papier-mache paste, drying in an oven in between layers at 200 degrees F for about 15-30 minutes. Be sure not to put the plastic pumpkin mold in the oven it will melt!


make the perfect papier m ch fall pumpkin sculpture container, crafts, halloween decorations, seasonal holiday decor


When all layers were dry on both sides of my pumpkin, I held them together and added a circle of think cardboard to the bottom cut from a heavy paper plate.


make the perfect papier m ch fall pumpkin sculpture container, crafts, halloween decorations, seasonal holiday decor


make the perfect papier m ch fall pumpkin sculpture container, crafts, halloween decorations, seasonal holiday decor


I then lined up the sides and secured the open seams with additional strips of paper dipped in papier-mache paste. I then allowed the whole thing to dry overnight


make the perfect papier m ch fall pumpkin sculpture container, crafts, halloween decorations, seasonal holiday decor


The next day I gently smoothed away any sharp or rough spots and then painted with silver metallic acrylic craft paint. I allowed it to dry and it was all done.


make the perfect papier m ch fall pumpkin sculpture container, crafts, halloween decorations, seasonal holiday decor


For more detailed instructions and my favorite papier-mache paste recipe be sure to see this full post on my blog.


make the perfect papier m ch fall pumpkin sculpture container, crafts, halloween decorations, seasonal holiday decor


Thanks so much & happy crafting! :)
preview mache


make the perfect papier m ch fall pumpkin sculpture container, crafts, halloween decorations, seasonal holiday decor


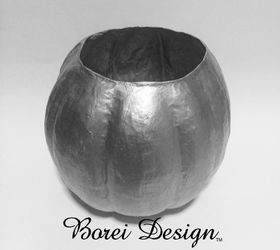
Original article and pictures take http://www.hometalk.com/10141317/make-the-perfect-papier-m-ch-fall-pumpkin-sculpture-container site


Комментариев нет:

Отправить комментарий