This week I am excited to show you one of my newest DIY projects. Now, I have thought about this project for a while and had done some research, trying to find a good option. I found some mountings that I could have purchased raging anywhere form 50-250 dollars. Yikes, I did not want to do that. So I pulled out my trusty drawing pad and figured out a design that would work for me and set at it.Things I needed:
1 by 6 wood
screws
screwdriver
white plaint
3/4 inch dowel 4 feet long
craft paper roll
1 1/4 inch drill bit
Since my paper was 3 feet wide, I measured my wood and added an inch to each side to make sure the paper had a little space, so I measured it at 38 inches. Then I cut the end pieces where the dowel will sit. I cut those at 7 inches. Like I said, I bought a larger roll, so I wanted to make the sides a little larger. You can customize to your desired measurements. You can also buy an 18-24 inches wide paper roll. The possibilities are endless.
So here are my end pieces. Lance measured and found the center of the wood. We then used 1 1/4 drill bit to drill a hole in the end pieces.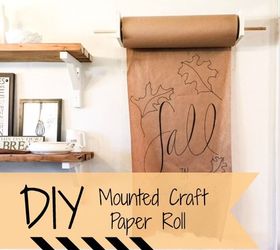 We also pre-drilled holes for the screws we were using to attach the pieces together..
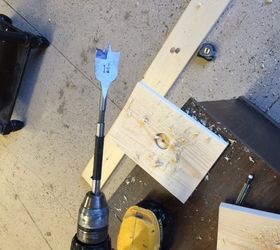 Once the 3 pieces were screwed together, I painted it white. Duh. Then I made sure I found some studs in the wall to anchor into. We love our little stud finder. Sometimes it finds studs in the wall, sometimes it finds my husband:) You bet we never use it without making some silly joke.
 Once it was up, all I had to do was add the butcher paper. I love using this! I can create fun artwork, tear a piece off to wrap up a present, make a fun grocery list, and on and on!
 And that is it! To see more of this tutorial and more form my blog, go check it out!
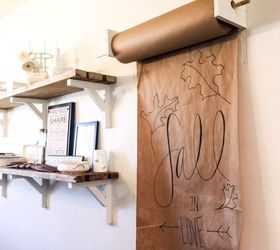
Original article and pictures take http://www.hometalk.com/10035041/diy-mounted-craft-paper-roll site
Комментариев нет:
Отправить комментарий