We recently completed remodeled our small cottage bathroom - on an major budget. We ended up spending $1,000, to rip out and replace everything in the space. But, that's in a different post. Today, I want to show you how we created the focal point in the small space - the ceiling.We were working with a small budget, so I knew I wanted to save money with ceramic subway tile. I also put in white floors, which allowed me to get creative with the ceiling. It started off as a basic ceiling.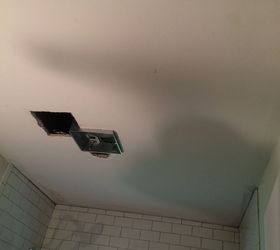 This beadboard came from an old milk barn in Wisconsin and was already in various lengths. I cleaned up the pieces,
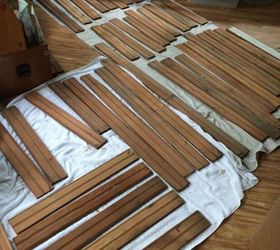 and painted them with milk paint. I quickly put the paint on, not minding if I missed some spots, because I wanted it to look worn and aged, just like the wood.
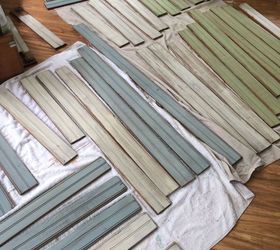 I measured the ceiling and then taped off the same size rectangle on the floor. This gave me a template to randomly lay out different pieces of beadboard. Random was definitely key here. I didn't allow myself to think about it too much as I grabbed the next piece, and I think this gives it the perfect look.
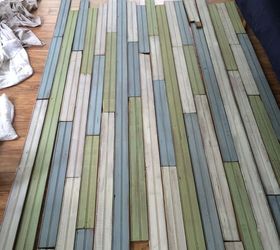 Our ceiling joists were running parallel to the direction that we wanted to install the boards, so we needed to create a system that the boards could be nailed into. I used furring strips (1" x 2") and just screwed them into the joists.
 We air-nailed the boards right into the furring strips. Between my dad and I handing off the air-nailer across the small room, we had the whole thing installed in 30 minutes!
 To see more details on the type of paint I used, colors, and the complete bathroom remodel, head on over to the blog.
Original article and pictures take http://www.hometalk.com/10300101/how-to-install-beadboard-or-barn-wood-on-the-ceiling site
Комментариев нет:
Отправить комментарий