Shiplap, planking, they mean slightly different things, but the look is very similar, a wall covered in horizontally laid boards. We love it, and decided to try it ourselves.You'll need wood, obviously. We bought tongue and groove strips from Lowe's that came in 8' lengths. Many others buy sheets of plywood and either cut them at home, or have the folks at Lowe's do the long cuts. You'll also need construction adhesive, a caulking gun, a stud finder, a saw, nails (and hammer), a ruler, a level, whatever coating you plan to give the wood if any, spacers (see below) for any outlets, and heaps of patience.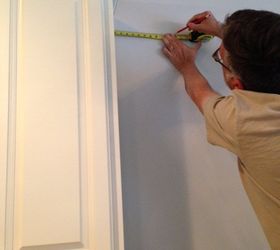 Use a stud finder to locate studs and make pencil marks in a vertical line down the length of the stud. This will determine where to sink your nails once you've got a board up. If you're going to paint the wood, it's a good idea to prepaint the raw edges. Wood shrinks over time and you don't want raw wood showing between your boards.
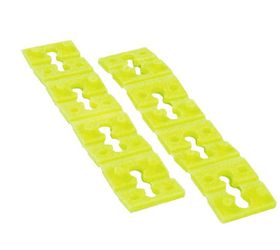 You will need to cut a notch in boards surrounding any outlets. The spacers must be installed so that the outlet is once again flush with the wall. Apply a generous bead of adhesive to the board before putting it on the wall. Once the board is up, nail it in a couple of places, using your pencil marks on the studs as a guide.
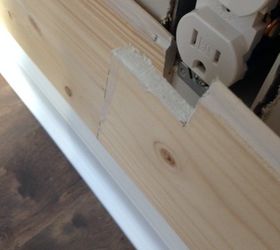 If you're using tongue and groove planks you'll fit the next board onto the mounted one. Cut and apply your boards so that the seams are staggered.
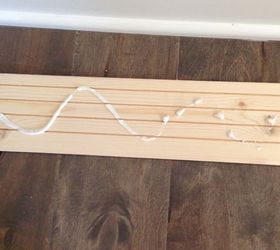 We wanted a painted finish, but it took a few tries to find the right color!
 To see what color we chose, and how it all came together, visit our blog!
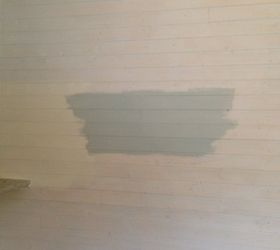
Original article and pictures take http://www.hometalk.com/10063449/planked-wall-diy site
Комментариев нет:
Отправить комментарий