
Materials:
1 – 16″ x 34″ cork board (Hobby Lobby)
2 – .205” x 23.75” x 47.75” craft boards from Home Depot
2 – 14 x 14 white dry erase calendars (Hobby Lobby)
1 – 14 x 14 plain white dry erase magnetic boards (Walmart)
1 – 14 x 14 plain silver dry erase magnetic boards (Walmart)
2 – Hooks that hold up to 5 lb (I purchased Command brand from Walmart)
4 – small ceiling hooks (Dollar Store or Walmart)
1 – can of Rustoleum Chalkboard paint
Varathane Dark Walnut stain
Picture hangers (11)
Vinyl chalkboard stickers (Hobby Lobby)
Wood glue
2 – Small Metal Pails (Hobby Lobby)
1 – chalkboard eraser with hook (Hobby Lobby)
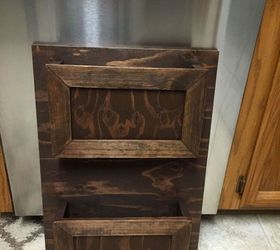
2 pocket mail sorter (16″ x 23.5″) – instructions for building this coming soon- I used spare 1/4″ plywood!
Decorative items for dressing up the command center (Hobby Lobby)
1 – small bulldog clip
For the full instructions, see the full bog post at the URL below.
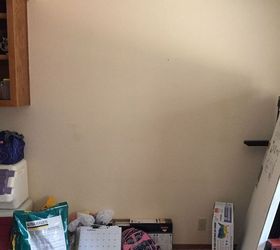
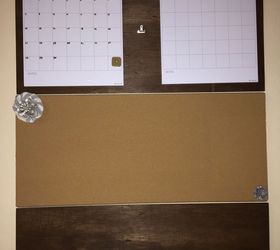
First, I attached two picture hangers on the back of the cork board and then hung the cork board on the blank wall.
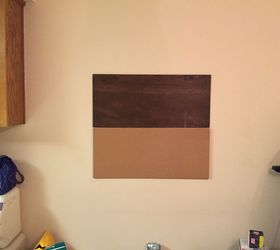
Next, I cut a piece of the .205″ board the correct size and stained it with the Dark Walnut stain. Once dry, I added two picture hangers to the back of that board and hung it on the wall above the cork board:
I used hot glue to attach the decorative pieces I purchased to the cork board and to the wood board. I also attached the small bulldog clip to the wood board between the two calendars (so I can easily change add and change pictures of my daughter).
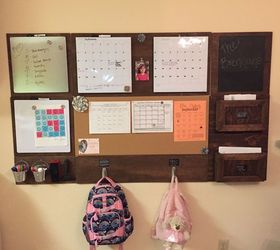
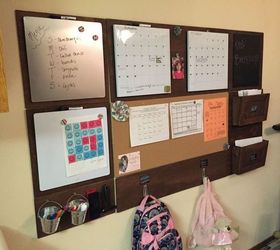
Then, I cut one .205″ board to size and stained it dark walnut. Once it was dry, I added two picture hangers to the back and hung it underneath the cork board. I also added two hooks that hold up to 5 pounds to the board (for hanging backpacks). I adhered the hook to the board with the double stick tape that came with the hooks. I also added vinyl chalkboard labels above the hooks to label what each hook is for (hooks aren’t shown in the pic below):
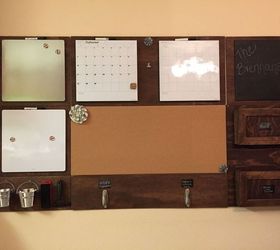
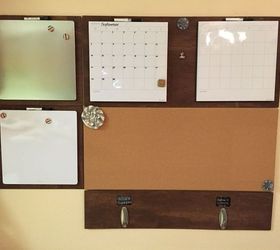
I then cut a .205″ board to size and sprayed one side with several coats of chalkboard paint. Once dry, I used wood glue to adhere the chalkboard painted board to one of the 16 x 16 walnut stained boards. To the two remaining 16 x 16 walnut stained boards, I adhered the white dry erase magnetic board to one, and the silver dry erase magnetic board to the other (using the double-stick tape that came with the dry erase boards)
I then added picture hangers on the back of the three 16 x 16 wood boards. The two boards with the dry erase boards added were hung on the left side of the command center:
I then used spare 1/4″ plywood to create a two pocket mail sorter. I’ll post the plans for that project in another post. I then added a picture hanger to the back of the mail sorter.
Lastly, I hung the two small tin pails from the hooks on the bottom left, and I also hung the chalkboard eraser and the white board eraser from hooks on the same board. I added chalk inside one of the pails, and dry erase markers inside the other. And…. the project is complete!! Here are some more pics:
Original article and pictures take http://www.hometalk.com/10183245/diy-family-command-center site
Комментариев нет:
Отправить комментарий